Introduction:
Small businesses require efficient financial management, but it can be challenging to keep bookkeeping up to date. Fortunately, there are several accounting software solutions available, and Xero is a reliable option which is simple and inexpensive. Founded in Wellington in 2006 by Rod Drury and Hamish Edwards, Xero is a cloud-based accounting software that caters to small businesses. Combining Xero with Salesforce, a customer relationship management (CRM) platform, can enhance accounting and customer management processes. By syncing our financial data and customer information between these two platforms, we can save time, reduce errors, and gain insight into our business operations.
Xero allows you to manage your finances, including invoicing, expenses, and inventory, from anywhere and at any time. Salesforce helps you manage your sales, marketing, and customer service activities. By integrating Xero with Salesforce, we can bring these two systems together to complement our business operations.

Integrating Xero with Salesforce offers several benefits, including streamlining accounting processes by automating invoicing, payment recording, and account reconciliation. This eliminates the need for manual data entry, reducing the risk of errors. We can also gain insights into our financial data in Salesforce, making it easier to track revenue, expenses, and cash flow.
Here are some steps to get started:
Assess our integration needs
Before we begin integrating Xero with Salesforce, we should evaluate our integration needs and goals. This will help us determine which integration method is best for our business.
Choose an integration method
There are several third-party integration tools available that can help you integrate Xero with Salesforce, such as Zapier, Workato, and Breadwinner. You can also build a custom integration using Xero and Salesforce APIs.
Set up the integration
Once we have chosen an integration method, we will need to set up the integration. This may involve configuring the integration tool, mapping fields between Xero and Salesforce, and setting up any custom workflows or triggers.
Test and refine the integration
After we have set up the integration, we should test it thoroughly to ensure that it is working as expected. We may need to refine the integration based on our testing results and feedback from our team.
How we integrate Xero with Salesforce:
Despite all the integration options, our preferred partner is “Breadwinner”. It provides a comprehensive solution for managing financial data and accounting processes within Salesforce.
The first step to integrating Xero with Salesforce using Breadwinner is to install the Breadwinner app in your Salesforce org. You can find Breadwinner on the Salesforce AppExchange and follow the installation instructions provided.
Once you’ve installed Breadwinner, the next step is to connect your accounting system to Salesforce. Breadwinner currently supports QuickBooks, Xero, and NetSuite. After selecting your accounting system, you’ll need to enter your login credentials and authorize the connection.
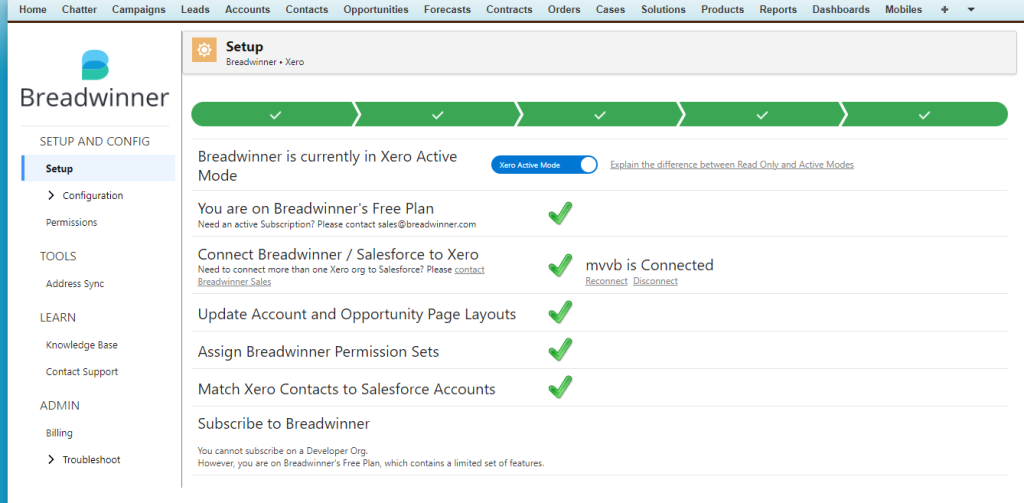
Breadwinner can be installed and configured in minutes, with no mapping required! We have dedicated objects in Salesforce that perfectly represents a corresponding Xero object.
Then you’ll need to configure your sync preferences. This will allow you to choose which data to sync between Salesforce and your accounting system. You can do this by navigating to the Breadwinner tab in Salesforce and selecting “Sync Settings”.
Once you’ve configured your sync preferences, you can start syncing data between Salesforce and your accounting system. This can be done manually or set up on a schedule. Breadwinner provides real-time financial insights and streamlined accounting processes, helping you to make data-driven decisions and save time on manual tasks.
Finally, we have integrated Xero and Salesforce using Breadwinner.
Here are some benefits of integrating Xero with Salesforce:
Streamline our accounting processes
We can automatically create invoices, record payments, and reconcile accounts in Xero based on data from Salesforce. This eliminates the need for manual data entry and reduces the risk of errors. We can also view our financial data in Salesforce, making it easier to track our revenue, expenses, and cash flow.
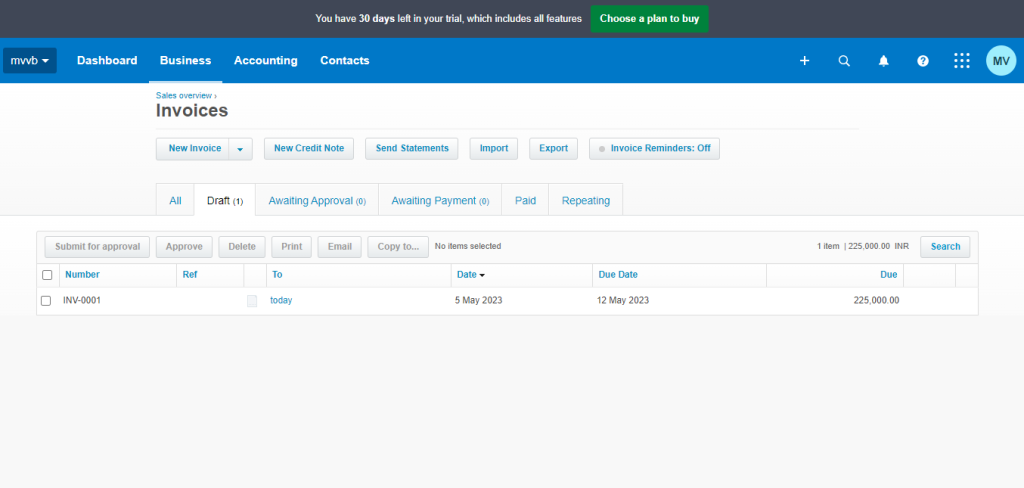
Improve our customer management
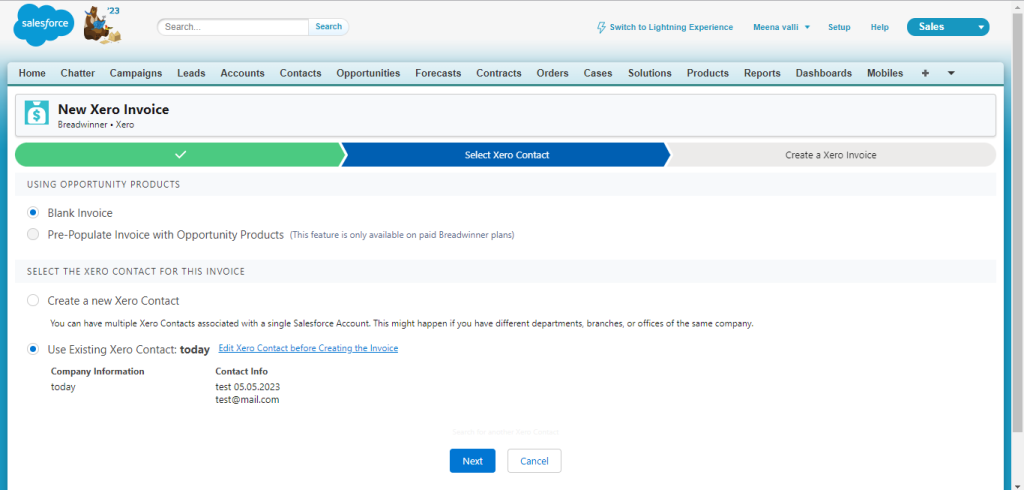
Integrating Xero with Salesforce allows us to keep our customer data up to date and accurate in both systems. We can create new customers in Salesforce and have them automatically added to Xero. We can also view a customer’s financial history in Salesforce, such as their outstanding balances and payment history, which can help us provide better customer service.
Gain valuable insight
We can gain insights into our business operations that would be difficult to obtain otherwise. For example, we can analyze our sales data in Salesforce and compare it to our financial data in Xero to identify trends and opportunities. We can also use custom reports and dashboards to track our key performance indicators (KPIs) and make data-driven decisions.
Pricing for Xero:
The pricing of Xero may vary depending on the country and currency. Here are the current pricing plans for Xero:
| Edition | UK Price | US Price | Australia Price |
| Starter | £10 per month | $11 per month | AUD $13.50 per month |
| Standard | £24 per month | $32 per month | AUD $27 per month |
| Premium | £30 per month | $62 per month | AUD $47 per monthPremium 2 – AUD $62 per month |
Pricing for Breadwinner:
Breadwinner offers a range of pricing plans for their Salesforce-Xero integration software, depending on the number of users and the features required. Here are the current pricing plans for Breadwinner:
| Edition | Price |
| Starter | $99 per month for up to 3 users, with basic sync and automation features |
| Professional | $249 per month for up to 10 users, with additional features such as mapping and customization options |
| Enterprise | $249 per month for up to 10 users, with additional features such as mapping and customization options |
It’s important to note that the pricing for Breadwinner and Xero are in addition to the pricing for Salesforce, which are separate platforms with their own pricing plans. Additionally, Breadwinner and Xero offers a free trial period so that you can test out the software and see if it meets your business needs before committing to a paid plan.
In conclusion, integrating Xero with Salesforce is an excellent way to enhance accounting and customer management processes, streamline operations, and gain valuable insights into business operations. By automating tasks and syncing data between these two platforms, you can save time, reduce errors, and improve your overall business performance.


