
Salesforce leverages Einstein AI and Agent force to provide intelligent virtual agents that help businesses improve customer service. By automating responses and streamlining processes, these AI-driven agents assist in handling inquiries efficiently, ensuring a seamless customer experience.
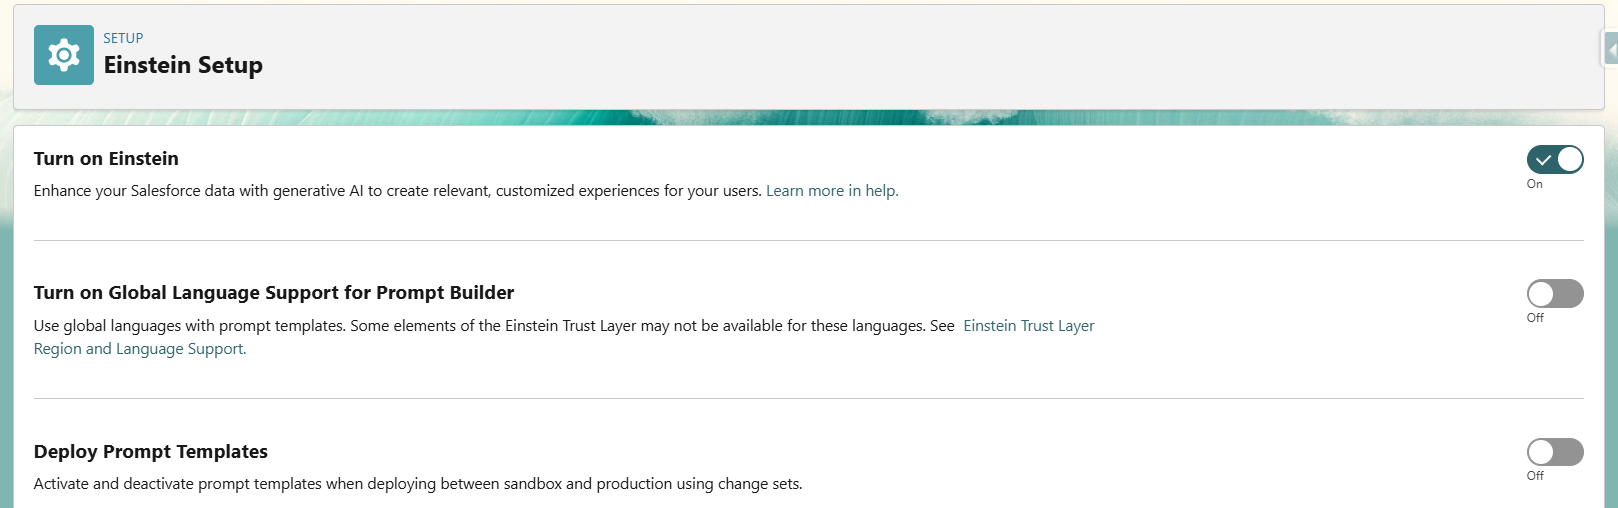
1. Enable Einstein in Salesforce
Einstein AI must be activated for agent functionalities to work properly. Follow these steps:
- Open Setup in Salesforce.
- In the Setup Quick Find search bar, type Generative AI and select Einstein Setup.
- Click the Turn on Einstein toggle to enable AI capabilities.
2. Publish the Experience Cloud Site
Agents are deployed via Coral Cloud’s Experience Cloud site. To prepare for deployment, follow these steps:
- In the Setup Quick Find, search and select All Sites.
- Click Builder next to the coral-cloud site. If a popup appears, click OK.
- Click Publish in the upper-right corner.
- Click Publish in the confirmation window.
- Click Got It after successful publication.
- Click the Experience Builder Menu icon.
- Select Salesforce Setup.
- Refresh your browser to reload Setup. You can now close the Experience Site browser tab.
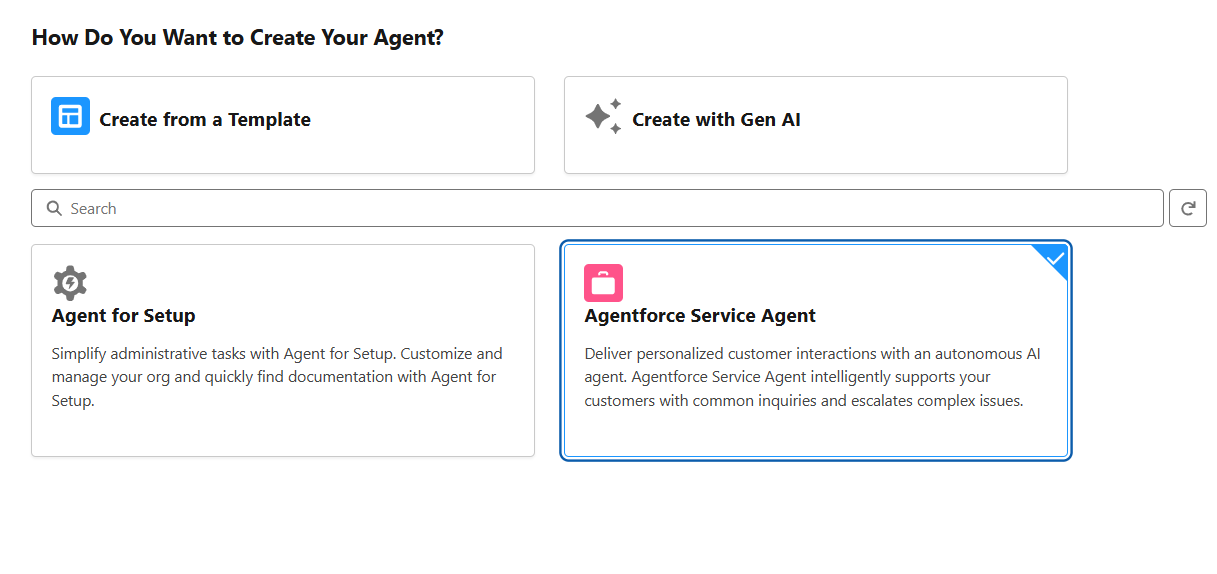
3. Create a New Agent
Now that the Experience Cloud site is ready, create your agent by following these steps:
- In the Setup Quick Find, search for and select Agents.
- Click + New Agent.
- Select Agentforce Service Agent as the type.
- Click Next.
- Leave all topics as added and click Next.
4. Create a Custom Topic for Your Agent
After setting up the agent, define a relevant topic for its functionality
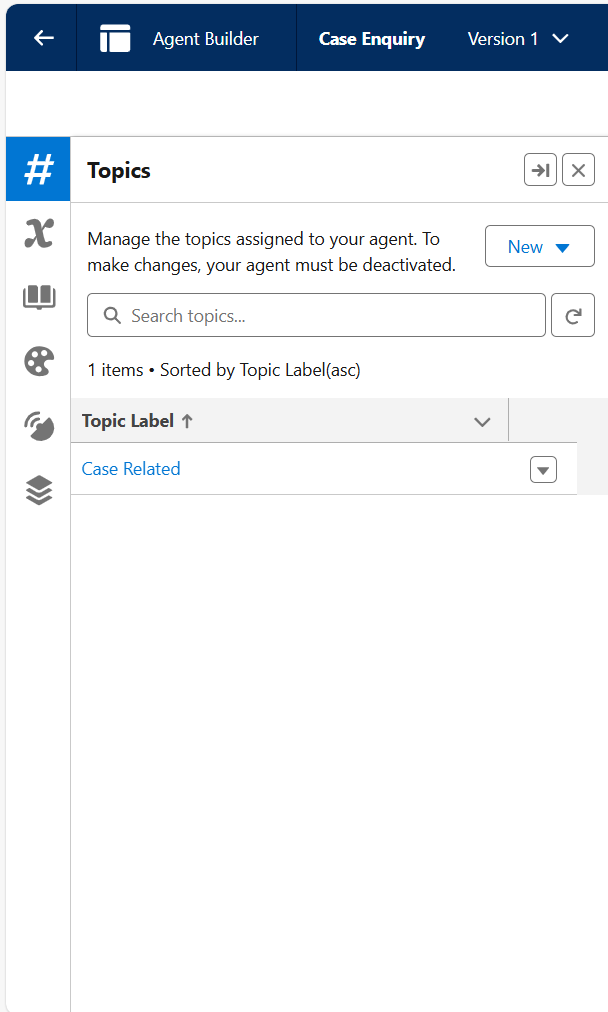
Remove the default topic by clicking the down arrow next to MigrationDefaultTopic and selecting Remove from Agent.
- Click the down arrow next to Manage the topics assigned to your agent, then select New Topic.
- Configure the new topic with the following details:
- Topic Label: Customer Experience Support
- Classification Description: This topic addresses customer inquiries and issues related to booking experiences at Coral Cloud Resorts, including making reservations, modifying bookings, and answering queries about experience details.
- Scope: The agent’s role is to assist customers in managing bookings for various experiences offered by Coral Cloud Resorts, ensuring smooth service and issue resolution.
- Instruction: If a customer inquires about Activities or Experiences, execute the Get Experience Details action and summarize the results for improved readability. Ensure customer identification before running this action.
5. Setting Up Agent Actions
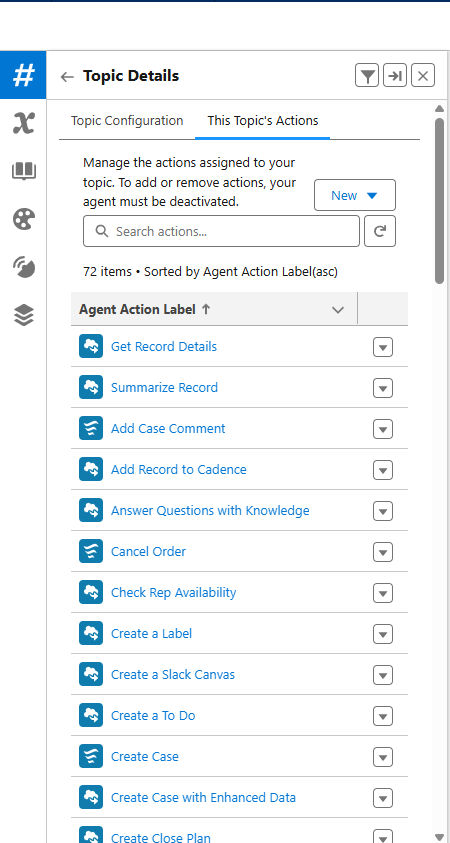
Agent actions define the tasks your AI agent can perform. These actions allow the AI to interact with Salesforce objects, retrieve data, and update records. To set up agent actions:
- Navigate to Agent Actions: Go to Agent Studio and click on Agent Actions.
- Create a New Action: Click on New Agent Action and provide a name for the action.
- Define Action Parameters: Specify the required inputs for the action, such as record ID, customer name, or case number.
- Choose Action Type:
- Data Retrieval: Fetch relevant data from Salesforce records (e.g., retrieving an account’s open cases).
- Record Creation: Create new records in Salesforce (e.g., logging a support case).
- Record Updates: Modify existing Salesforce records based on AI responses.
- Configure API Calls (if needed): If the action involves integrating with external systems, configure API calls to fetch or send data.
- Test the Action: Run a test to ensure that the action works as expected and returns the correct results.
- Save and Deploy: Once validated, save the action and assign it to the appropriate agent.
Conclusion
By following these steps, you have successfully enabled and configured an AI-powered agent in Salesforce using Einstein and Agentforce. This setup ensures seamless customer service interactions, helping businesses provide enhanced support and streamline customer inquiries efficiently.