Sweet Potato

Categories
Blog

Homepage for different profiles

Introduction:

In Salesforce, the home page is what your users see the first time after logging in. This page can be customized to highlight specific information for the user. Easy access to relevant information equals increased efficiency. In this blog, we will discuss creating a homepage for different profiles in Salesforce. Assign home pages to different apps and app-and-profile combinations to give your users access to a Homepage perfect for their role.

Step 1: Determine the Objectives of Each Profile

The first step in creating a homepage for different profiles is to determine the objectives of each profile. Ask yourself, “What are the goals of this profile?” and “What data and functionality does this profile need to achieve those goals?” For example, a sales representative may need access to customer data, sales reports, and marketing materials. In contrast, a marketing specialist may require access to marketing campaigns, analytics, and lead-generation tools.

Step 2: Customize the Home Page Layout

Once you have determined the objectives of each profile, the next step is to customize the home page layout. Salesforce allows you to customize the home page for each profile, including adding and removing components and rearranging the layout. You can access the home page editor by clicking the gear icon in the top right corner of the screen and selecting “Edit Page” from the drop-down menu.

Step 3: Add Components to the Home Page

After accessing the home page editor, you can add components to the home page by clicking the “Add Component” button. Salesforce offers a variety of components to choose from, including charts, reports, dashboards, news, and updates. You can also add custom components created by your organization or third-party vendors.

Step 4: Configure Component Settings

Once you have added components to the home page, you can configure their settings to show the data and functionality specific to each profile.

For example, you can set a chart component to display sales data for a sales representative profile and marketing campaign data for a marketing specialist profile.

Step 5: Save and Publish the Home Page

After you have customized the home page for each profile and configured component settings, you can save and publish the home page. The changes will be visible to users with the corresponding profile permissions.

In conclusion, creating a homepage for different profiles in Salesforce requires an understanding of the objectives of each profile and the customization options available in the home page editor. By tailoring the home page layout, adding components, and configuring settings, you can provide users with the data and functionality they need to perform their job duties effectively.

Categories
Blog

Spice up your salesforce with Happysoup

Imagine you’re a Salesforce admin or developer, tasked with managing a complex, highly customized org. 

You feel like you know the basics, but sometimes you run into challenges that leave you feeling stuck and unsure of what to do next. You wish there was a way to see how other orgs are configured and get insights into best practices and advanced techniques.

That’s where HappySoup.io comes in. Provides a virtual peek into a highly customized Salesforce org. Users can explore different components and configurations, such as objects, fields, workflows, validation rules, and more

It’s like having a secret weapon in your back pocket, ready to help you tackle any challenge that comes your way.☺

HappySoup.io is a web-based tool designed to help Salesforce developers and administrators explore and experiment with different configurations of Salesforce orgs. It allows users to gain insights into how orgs are customized, experiment with different configurations.

HappySoup.io offers a range of features and functionalities to help Salesforce users with various aspects of their work. Here are some details about how HappySoup.io can help:

Workflow Migration Info:

HappySoup.io provides a visual representation of your current workflows, making it easy to understand how they’re configured and identify any areas that may need adjustment. Allowing users to quickly and easily export all the necessary information in a format that is easy to comprehend and makes it easier for users to accurately interpret the rules and make better decisions.

Impact Analysis:

One of the most useful features is the ability to perform impact analysis. Knowing how changes to your Salesforce instance will affect other parts of your system can help you make informed decisions and avoid costly mistakes.

Of course, Salesforce provides an incredibly helpful tool for only custom fields – the “Where is this used?” button. It allows users to make changes quickly and confidently, ensuring a smooth transition and allowing them to focus on more important tasks, sadly this features can’t be used to analyse standard fields.

No worries.. We have HappySoup.io. It analyses all aspects of your org, including workflows, triggers, and custom code, to determine the potential impact of any changes.

The tool generates a map of the objects and fields that are likely to be affected by any proposed changes. 

This visual representation makes it easy for users to understand the scope of the changes and determine which areas of their org are likely to be affected.

Bulk Impact Analysis:

Bulk Impact Analysis is a powerful feature that helps organizations to assess the potential risks and conflicts associated with proposed changes. This feature provides a detailed report that highlights any potential conflicts, dependencies, or risks associated with the proposed changes. It also helps to identify any unforeseen consequences of the proposed changes and take preventive measures accordingly.

Deployment Boundaries:

Deployment boundaries are an essential part of any organization’s infrastructure. They define the metadata that an organization needs to have in order for a particular feature or configuration to exist.

Whether you’re a seasoned Salesforce pro or just starting out, HappySoup.io is a valuable resource that can help you become more effective and efficient in your role. So why not give it a try and see what you can accomplish with this powerful tool at your fingertips? Here are the steps:

1) Go to HappySoup

2) Select the login type and check the checkbox for the privacy policy.

3)Then click the Log in with Salesforce button. 

Now you can enjoy your HappySoup.!!

HappySoup.io is a useful resource for Salesforce admins and developers who are looking to improve their skills and gain a better understanding of how highly customized orgs work and provides a safe and supportive environment for experimentation and learning.

So why wait? Taste your Salesforce environment with HappySoup.io today and experience the full flavor of your Salesforce setup like never before.

Categories
Blog

Salesforce Instance Health Check-up

Generally believed that leading a wholesome lifestyle is positively correlated with leading a fruitful life. When we are in good physical and mental health, we are more likely to have the energy, focus, and motivation to pursue our goals and succeed in various aspects of our lives, including work, relationships, and personal growth.

We may also feel more satisfied and fulfilled, leading to greater happiness and well-being. As we age, we must pay more attention to our health, our bodies naturally undergo changes that can increase the risk of specific health problems and any possible issues that may arise.

However, with the proper care and attention, many of these issues can be prevented or managed effectively.

When people have health issues, they need to seek medical attention and consult with a doctor. A doctor can help diagnose the underlying cause of the problem and provide appropriate treatment to relieve symptoms and improve overall health and well-being.

However, if a problem occurs in Salesforce, how can we pinpoint the issues and who can analyse it ???

In this article, we will explore one of the self-service salesforce org health tools.

Yes…That is the Org Doctor !!!.  

The Org Doctor is a tool that helps you identify the changes that are not healthy for your organisation. It enables you to find and fix the problem’s root cause. The tool scans your org for possible issues and provides insights into what could have caused these problems in the first place.

Here are some signs that indicate that salesforce org is unwell.

  1. Surpass Storage Limits
  2. Frequent Record Locking Issues
  3. Operational or Performance issues
  •       Apex CPU time limit exceeded errors
  •       Long-running queries and reports
  •       Inefficient Visualforce pages and controllers
  •       Low code coverage in Apex test classes
  1. Need to increase security configurations.

Another question that comes to mind is:  Who can act as a doctor of the Salesforce Org?

Anyone with administrative rights can serve as a doctor, whether they are a Salesforce admin, developer, consultant, or anyone else. 

Finally, let’s take a look at how you can become an Org Doctor.

1. To begin, visit the following link: https://orgdoctor.herokuapp.com/

2. Check the checkbox that says  ‘I AM A SALESFORCE ADMINISTRATOR.’

3. Select either ‘Check My Production Org’ or ‘Check My Sandbox Org’.

4. After clicking the “Sign in with salesforce button”, Enter the Username and Password of Salesforce org and click the login button.

5. Finally, the health check report will be generated and sent to your email. The report is divided into different sections, with each section containing a percentage highlighted in either ‘Green’, ‘Red’, or ‘Yellow’.

Categories
Blog

Salesforce Easy makes your life Easy

The world is constantly evolving and so are the tools we use to make our lives easier.

Salesforce has recently launched Salesforce Easy to replace its existing Salesforce Essentials. Salesforce makes it easier for users to quickly access the data they need to make informed decisions about their customers. 

Working together to achieve goals is the key to success for any business. Salesforce Easy makes it easy for teams to collaborate in a single workspace. Makes it easy for teams to get started with collaboration and stay organized in the long run.

What is Salesforce Easy, And Who is it For?

Salesforce Easy is designed to make it easier for small and medium businesses to access the power of Salesforce without the need for extensive training or customization. With this Salesforce Easy, businesses can quickly get up and running with a powerful CRM system that will help them manage their customer relationships more efficiently.

How Salesforce Easy Can Help Different Industries

Salesforce Easy is a revolutionary app that has completely reimagined the way businesses manage their sales, service, and marketing activities. With its simplified design, Salesforce Easy provides users with an intuitive user interface that makes it easy to access all the features necessary for effective sales, service, and marketing operations. Salesforce Easy allows users to customize according to their business needs and preferences. This makes it easier for businesses to manage their sales, service, and marketing activities in one unified platform.

How Salesforce Easy Helps Drive Efficiency in  Core Areas of Business 

Sales:

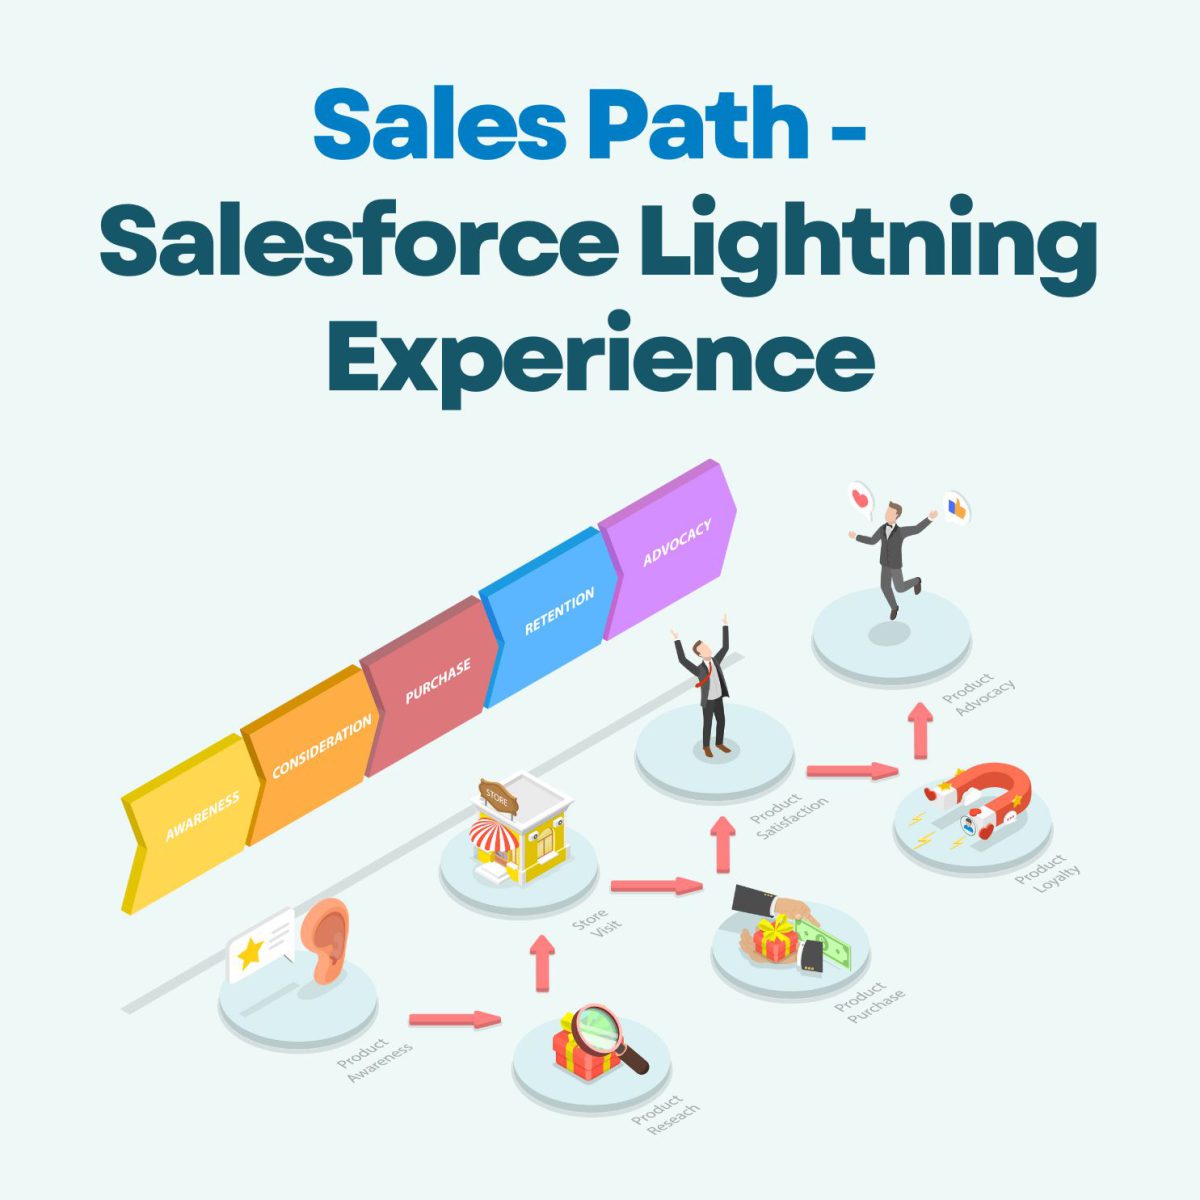
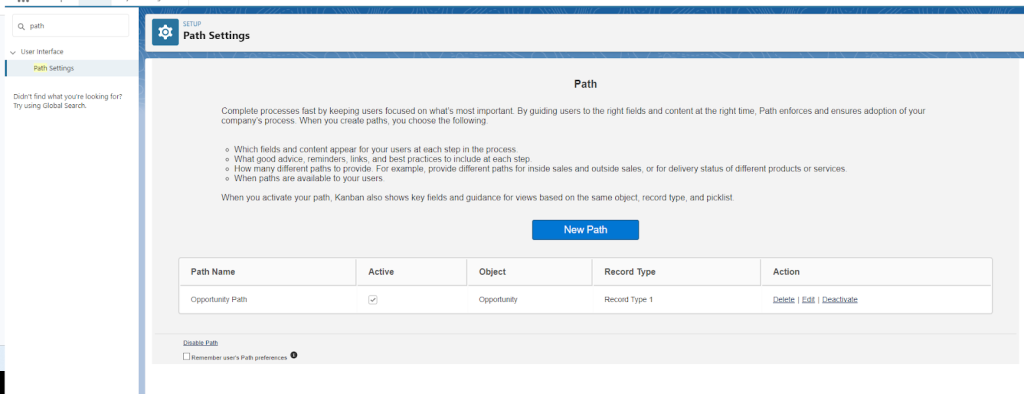
Out-of-the-box sales paths and reports are essential tools for businesses to keep their teams on track and manage their sales pipelines. 

Additionally, lead and opportunity records provide valuable insights into how well a company is performing in terms of customer acquisition and retention. With this information, companies can adjust their strategies in order to maximize their profits.

Service:

Managing customer cases is a great way to keep track of all customer interactions in one place. By tracking customer engagement history and details, businesses can gain valuable insights into how customers interact with their products and services. This data can then be used to improve their offerings as well as provide better support for their customers.

Designed to help your service team deliver quick, helpful, and personalized service to your customers.

Marketing:

It helps your marketing team create and track branded marketing content. Email templates are an essential tool for businesses when it comes to sending out company updates and offers. Not only do they provide a consistent look and feel for your emails, but they also help create beautifully branded emails that will grab the attention of your customers. With email templates, you can customize the content and design of your emails to match the tone of your brand.

Reports and Dashboards: 

Salesforce Easy gives a powerful suite of reporting tools to track business performance.

Reports will provide a clear picture to the management and display the data in the format of rows and columns.

Dashboards are pictorial representations of reports data.

How to Get Started with an Easier CRM Step by Step

Here are the steps to sign up for Salesforce Easy 30 days Trial Pack. 

Step 1: Click this link Salesforce Easy. Select the country as USA. Then check the check box of “Main Service Agreement.”

Step 2: After selecting the Agreement check box, it shows Add to sign up 

Step 3: After signing up, answer the following questions

Step 4:Aftet submitting these questions, Select the “Take Me To Salesforce” button.

Kudos!!!, Finally, you get access to a 30-day Trial Pack.

Categories
Blog

Record sharing using Salesforce Flow

Sharing plays a crucial role in salesforce. Ever wonder if you can share the record with users based on the data in a lookup field. Well, your wish has come true – the flow now allows you to do this without writing a single line of code. Let’s look at this in details with an use case,

Let’s look at a Universal Container use case:

John is a system administrator and is working at the Universal Container (UC) and managing the recruiters. The user would like to see and edit only the candidates that are associated to the recruiters. For this, he already have a custom object called Candidate’.Once the ‘Recruiter__c(Lookup to User object) field gets populated, auto-share the Candidate record (Grant edit access) with the Recruiter.

Associated Procedures:

There are 3 steps to solve John’s business requirement using After-save Record-Triggered Flow. We must:

  1. Create a custom object with fields
  2. Create apex sharing reason 
  3. Salesforce flow
    1. Define flow properties for record-triggered flow
    2. Create a record variable (varR_RecuritShare) to store Recurit__Share
    3. Add a decision element to check if ‘Recruiter__cis populated or not 
    4. Add an assignment element to populate record variable (varR_‘RecruiterShare)
    5. Add a create records element  to share the Candidate record with the Recruiter

Step 1: Create Custom Object – Candidate

  1. Click Setup.
  2. In the Object Manager, click Create | Custom Object.
  3. Now create a custom object Candidate and fields as shown in the screenshot below: 
  4. Click Save.

Step 2: Create Apex Sharing Reason

Then we will create an Apex Sharing Reason. Each Apex sharing reason has a Label and a Name. The Label value is displayed in the Reason column when viewing the sharing for a record in the user interface. This allows users and administrators to understand the source of the sharing. 

  1. Click Setup.
  2. In the Object Manager, type Candidate.
  3. Select Apex Sharing Reasons, then click New.
  4. Enter Reason Label and press the Tab key the Reason Name will populate. 
  5. Click Save.

Step 3.1: Salesforce Flow – Define Flow Properties 

  1. Click Setup.
  2. In the Quick Find box, type Flows.
  3. Select Flows then click on the New Flow.
  4. Select the Record-Triggered Flow option and click on Next and configure the flow as follows:
    1. How do you want to start building: Freeform
    2. Object: Candidate
    3. Trigger the Flow When: A record is created or updated 
    4. Set Entry Criteria
    5. Condition Requirements: None
  5. Optimize the Flow For: Action and Related Records 
  6. Click Done.

Step 3.2: Salesforce Flow – Create a Record Variable to Store Candaiate__Share 

  1. Under Toolbox, select Manager, then click New Resource to store the Candaidate__Share mapping detail. 
  2. Input the following information:
    1. Resource Type: Variable
    2. API Name: CandidateShare
    3. Data Type: Record
    4. Object: Share: Candidate
    5. Check Available for Input
    6. Check Available for Output
  3. Click Done

Step 3.3: Salesforce Flow – Using Decision Element to Check if Recuriter field Is Populated or Not 

Now we will use the Decision element to check the Candaidte__c from Candidate object to find if it is populated by user or not. 

  1. Under Toolbox, select Element. 
  2. Drag-and-drop Decision element onto the Flow designer. 
  3. Enter a name in the Label field; the API Name will auto-populate.
  4. Under Outcome Details, enter the Label the API Name will auto-populate.
  5. Condition Requirements to Execute Outcome: All Conditions Are Met (AND)
    1. Row 1:
      1. Resource: {!$Record.Recuruiter__c}
      2. Operator: Is Null 
      3. Value: {!$GlobalConstant.False}
    2. Add Field
    3. Row 2:
      1. Resource: {!$Record.Recuruiter__c}
      2. Operator: Is Changed 
      3. Value: {!$GlobalConstant.True
  6. Click Done.

Step 3.4: Adding an Assignment Element to Populate Candidate__Share Record Variable 

The next step is to populate the record variable Candidate__share to share the Candidate record with Candidates.

  1. Under Toolbox, select Assignment. Drag and drop Assignment onto the canvas. 
  2. Input the following information:
    1. Enter Label the API Name will auto-populate.
    2. Row 1:
      1. Field: {!CandidateShare.AccessLevel}
      2. Operator: Equals
      3. Value: Edit
      4. Click Add Row
    3. Row 2:
      1. Field: {!CandidateShare.ParentId}
      2. Operator: Equals
      3. Value: {!$Record.Id}
      4. Click Add Row
    4. Row 3:
      1. Field: {!CandidateShare.UserOrGroupId}
      2. Operator: Equals
      3. Value: {!$Record.Candidate__c}
    5. Click Add Row
    6. Row 4:
      1. Field: {!CandidateShare.RowCause}
      2. Operator: Equals
      3. Value: Shared_via_flow__c
  3. Click Done.

Step 3.5: Adding a Create Records Element to Share the Candidate Record with Recuriter

  1. Under Toolbox, select Element. 
  2. Drag-and-drop the Create Records element onto the Flow designer. 
  3. Enter a name in the Label field- the API Name will auto-populate.
  4. For How Many Records to Create select One.
  5. Map Record Collection: {!CandidateShare}
  6. Click Done.

Finally the flow will look like this in the below screenshot.

Categories
Blog

Breaking Barriers: How I Became a Salesforce Certified Expert

My name is Meena and I am a Salesforce-certified professional. I have heard the quotes  “Effort pays off!” and “Nothing is impossible if you try!” many times, but it was only at the age of 41 that I realized that these quotes can be turned into actions.

Let me tell you my story of how I got certified in Salesforce! As a Tamil graduate, I have never imagined my entire life that I would become a technology person.

After three years of pursuing a degree in Tamil – a language spoken by millions of people-, I got a job offer at my doorstep from the school I studied. The age-old problem kicked in when my parents started to look for a suitable groom, and they weren’t in the mood to let me work. I don’t blame them, as it was the prevailing culture and still is to a larger extent. I continued my studies through distance education and secured a Masters and M.Phil before I got married. My thirst for knowledge also led me to a postgraduate course in computers. At that time I didn’t realize it was going to give me a hand later.

After I got married, I looked for a job, but I wasn’t able to secure any role in Tirunelveli because I had no previous experience. Life moved on, and I became a proud mum to 2 kids. I was still thinking about somehow developing a career. I was doing online transactions like booking e-tickets from home and learning a little about the fascinating world of technology.

While life was moving at a good pace, I was still thinking about the next opportunity. Serendipitously, an opportunity knocked on my door in my town of Tirunelveli. Yes, unimaginable, I know!

I was chatting with some of the folks during an event and their words made me want to give it another try.
They said,

If you want, read about the software in our company and if you are comfortable with pursuing it as a career, you can begin your journey here.”

I was afraid initially, how could I do this? There were thousands of questions and confusion on whether I can survive in a field that is completely unrelated to me. I haven’t worked in the past, and I don’t know a lot about technology. The covid crisis was ongoing at that point, so I wasn’t sure if I can get the momentum through online inductions which I will get with face-to-face interactions.

On reflection, I said to myself why I was not putting trust in myself. I also said I should not miss the opportunity that has come to me this time. Low and behold, I entered the new technology in the hope that I will make a career out of it. If not, at least learn something new.

I started learning online for 3 months, as we were still in the middle of the pandemic and then began to work in the office intermittently for a few more months before I got the offer to join Sweet Potato Tec ( One of the Best Salesforce Specialists in UK ). I was elated and was raring to pursue Salesforce as a career.

I wanted to get proper credentials that are industry recognized in the technology I was learning. Initially, I wanted to get certified as a Salesforce Admin. It might be a simple certificate for most, but for me, it was an important milestone in my life. More importantly, I considered it as the first step toward my career progression.

The journey to getting certified as a Salesforce Admin was definitely very challenging for me. I really loved that journey though. I will write another blog about it, but in short, after some intense preparations where I learned the technology in my native language, Tamil, and then prepared and then prepared for the test in English. 

Words don’t describe how I felt after I got certified, that story for another time. Since then, I have solved many customer problems through my skills and am confident I will get more certifications in the next few years.

My story is not unique, but I hope that it will inspire others to go after their dreams. If I can do it, so can you! And if you need help, my consulting company is here to support you every step of the way.

Categories
Blog

Need to track duration at every Salesforce opportunity stage?

We all know Salesforce is an incredible platform for managing sales operations. Opportunity Stages define an organization’s sales process. In this blog, we are going to calculate the time taken by an Opportunity stage till it reaches the “Closed Won” or “Closed Lost” stage.
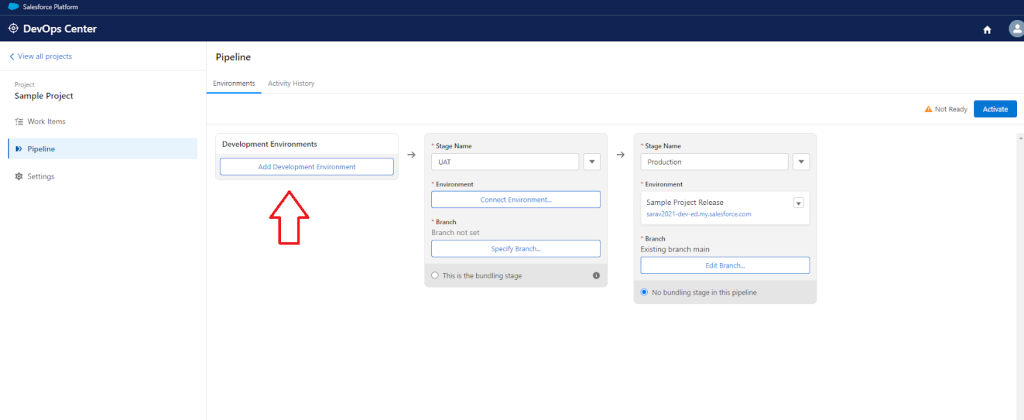
This functionality plays a crucial role in Pipeline management. This reveals information on how long it takes for salespeople to advance through each Opportunity stage.

New Opportunity Records 

We can record the Opportunity Stage Change dates for new records using FLOWS. 

Step 1: Select “Record-Triggered Flow” in the “New Flow” pane and click “Create”.


Step 2: Choose an “Opportunity” object and set the trigger condition to “A record is  created or Updated”.

Step 3: Add a decision element. Create separate outcomes for Opportunity stages for which we need to calculate the duration till it reaches “Closed Won/Closed Lost”  Stage,

Step 4: Create test fields with the datatype “Date” for tracking the Stage change dates in Opportunity. 

Step 5: Add an Update triggering element for each stage and map the Current Date to the test  field created in step 4. Mapping “Negotiation/Review Date” to Current Date,

Flow

Finally our flow looks as shown below,

Formula Field Creation

Step 6: Using formula fields, we can proceed with calculating the time taken from each Stage until Closed Won/Closed Lost. 

For calculating the time span between the “Initial Engagement Date” and “Closed Won  Date”,

Calculating the duration between “Initial Engagement Date” and “Closed Lost  Date”,

Please use “Opportunity History Report” to record Stage Durations of existing Opportunity records.

Demo 

Please watch this video that demonstrates the above process.
Categories
Blog

Talk the right amount in meetings!

TL;DR – Just look at the post image to help you talk the right amount in meetings.
We – humans – love to talk, that’s in our genes. That’s how humans evolved to become one of the most innovative life forms – by passing information between our tribes, our friends, and our children. One thing we have less though is the time!
It’s the most important currency for all of us and we get annoyed when we don’t use it properly such as binge-watching a show on Netflix or when someone else hijacks our time by inviting us to an “emergency” meeting. As you might all agree, meetings are the known villains in the corporate world, but no one can stop this supervillain (which I don’t think they all are, but that’s for another post). In fact, if you search on the web, you will find numerous stats about meetings – one such page says that nearly 55 million meetings are held per week in the US alone. 55 Million Meetings!

Despite the time sink these meetings cause, we forget about this annoyance as soon as we are in a meeting. We start talking immediately. We do love talking, don’t we? We talk about how smart we are, how time-pressed we are, and how important the work we are doing is. We talk about the weather, kids, pets, traffic, holidays, bad networks, and everything else under the sky.

Many experts started to notice this trend and recently, as a result of this, there has been a lot of focus on reducing the time we talk and increasing the time we listen. You would have heard one of the many quotes upon this idea such as ‘You have two ears and one mouth, so listen more and talk less.’ – all of which I agree with. There is a lot of value in listening; both from a getting work done perspective and from an empathetic perspective.

But, does that mean talking is all bad, especially in meetings? Yes and no! Let me explain!

Before I started writing this post, I was reflecting on the numerous meetings I have attended in the last few years. I was trying to see if I could come up with a way that people could use to categorize meetings and identify ones where we need to talk less, and the ones where we need to talk a bit more.

The idea here is not to oversimplify meetings but to provide a simple mental model to remind ourselves about our objective for the meeting. So in this blog, I present the l’Sup model!

You will see a simple graph below which visualizes this model. The fun meetings and social get-togethers don’t fall under any of these categories. Let there be no restrictions in those meetings provided you’re amongst your friends or family!

No alt text was provided for this image

In this model, I group the meetings into 4 broad categories:

  • Learn meetings – Your objective is to learn from these meetings. You are there to learn about one of the following: a concept, project status, or a new skill.
  • Steer meetings – Your objective is to give proper directions to your colleagues around a certain project or initiative. You are there to listen and provide steer with utmost clarity.
  • Update meetings – Your objective is to provide updates on something you’re working on, and answer any questions. You will also need to capture any feedback coming out of these meetings.
  • Present meetings – Your objective is to present a topic to a large set of audience – a keynote address can be a good example

On one end of the spectrum, we have the dark green learning meetings; on the other, we have the lighter green present meetings.

There is a reason why I used shades of green in the above line – to convey the point that talking is not all that bad.

For example, in an update meeting, you need to talk to ensure the sponsors and stakeholders are aware of what’s going on in your initiative. If you don’t do that, people will lose confidence in the initiative because they don’t know the latest updates and changes. At the same time, if you talk too much as a sponsor in an update meeting, you don’t give an opportunity for the project lead to give a proper status update. As a sponsor, this is a meeting where you have come to learn about the status. Now I hear you say, this is all complex.

I present you the l’Sup Model, see the blog post image, this is a simple line graph really. The X-axis tells you how much you should talk and Y-axis lists your objectives from those meetings. As you see, not all meetings will need stone-cold silence from you.

You can use this model as a compass to decide how long you want to talk in a meeting. The key thing is for you to decide your objective at least 5 minutes before the meeting. Here are some tips to make this model work for you.

Let’s say you’re someone who would like to express your thoughts, the minute you think about it. Have a notepad, write that thought down and wait!

If you are someone who doesn’t like to talk in meetings but have an update meeting. Plan ahead, prepare the slides, and pre-empt the questions.

Remember, if you’re in a learn meeting and you’re in a leadership position, prioritize the questions you ask. In my experience, this automatically reduces the time you talk.

You can also use the famous Bezos meeting rules too.

In summary, talking is not all that bad in meetings if it is inline with your objective for the meeting and you can use the l’Sup model as a compass for your meeting. This is just based on my experience observing meetings generally. You can use this as a mental heuristic to remind yourself about your meeting objective and talk time before the meeting.

Talk the right amount and prosper!