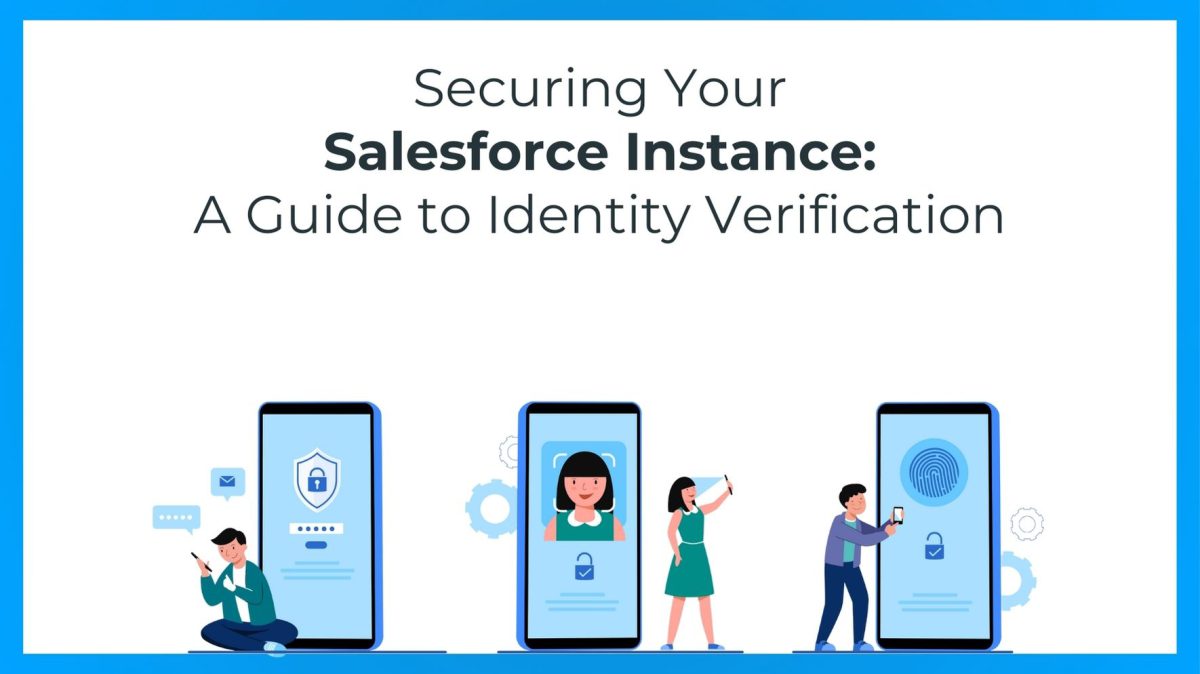
This blog delves into the essential strategies and features within Salesforce that guarantee robust authentication, protecting your organization’s sensitive data from unauthorized access. How important is the Salesforce auto enabled the MFA for direct logins in Spring ’24.

Approaches to Validate Your Identity:
An additional layer of security is initiated during the login process, necessitating not just your username and password but also a specified verification method to authenticate your identity.
- Salesforce Authenticator Mobile App
Salesforce Authenticator offers a quick and straightforward method for completing multi-factor authentication (MFA) and various identity verification processes. Easily verify your activity with a simple finger tap and can be employed with other online accounts that are compatible with time-based one-time password (TOTP) authenticator apps. - Built-In Authenticator
Register Touch ID, Face ID, or Windows Hello as your native authenticator for identity verification during MFA logins or device activation challenges. These authenticators leverage your device’s biometric readers like fingerprint or facial scanners, and may include PIN or password verification. Registration links your native authenticator to your Salesforce account, providing a personalized verification method. If this option isn’t visible, consult with your Salesforce administrator to enable it. - Security Key
Enroll a physical security key for identity verification during multi-factor authentication (MFA) logins or in the event of a device activation challenge. Choose security keys compliant with WebAuthn (FIDO2) or Universal Second Factor (U2F) standards. The registration procedure establishes your security key as a personalized verification method, forging a link between your Salesforce account and the key. If the option is not visible, consult your Salesforce admin to enable it. - Third-Party Authenticator App
Enroll a third-party authenticator app to authenticate your identity during multi-factor authentication (MFA) logins or when faced with a device activation challenge. Examples of such authenticator apps include Google Authenticator, Microsoft Authenticator, or Authy, which generate a time-based one-time password (TOTP) for entry into Salesforce. The registration process establishes your authenticator app as a personalized verification method by establishing a connection between your Salesforce account and the app. - Temporary Code
If you are unable to utilize your typical multi-factor authentication (MFA) verification method, request your Salesforce admin to provide you with a temporary verification code. This code remains valid for a duration set by your admin, typically ranging from 1 to 24 hours. You also have the option to manually expire the code ahead of the designated timeframe if it is no longer needed. - One-Time Password via SMS Text Message
This option is exclusively accessible to external users logging in to customer or partner Experience Cloud sites.If your account is linked to a verified mobile number, Salesforce dispatches a one-time password (OTP) code via text message to your phone. In the absence of a verified mobile number, you’ll be prompted to register one during your Salesforce login. Registering your mobile number not only verifies it but also activates this method for future challenges. In case of a mobile number change, kindly get in touch with your Salesforce admin. - One-Time Password via Email
This feature is exclusively accessible to external users logging in to customer or partner Experience Cloud sites. For this method, Salesforce delivers a one-time password (OTP) code to the email address linked to your account. It’s important to note that the code has a validity period of 24 hours.
Regain Access in Case Your Verification Method is Replaced, Lost, or Malfunctions.
Certain situations may impact your ability to use your identity verification method for multi-factor authentication (MFA) logins to your Salesforce account. These issues typically fall into two categories. The first scenario involves the loss or replacement of your verification method, such as getting a new mobile phone or computer, requiring a switch of your authenticator app or built-in authenticator to the new hardware, or replacing a lost security key with a new one. The second possibility is a disruption in the connection between your verification method and your Salesforce account. In such cases, to restore MFA login access, it is necessary to disconnect the affected verification method and then either reconnect it or register a replacement method.
Resolve Login Problems
Unable to access your account? Forgotten your username or password, or faced with a lockout due to numerous login attempts? To address login issues, consider the following solutions.
- Your Salesforce administrator establishes password policies governing login attempts, lockout durations, and password requirements for your organization.
- If you possess the “User Single Sign-On” permission, only an administrator can reset your password. For assistance, reach out to your Salesforce administrator; note that password resets aren’t available through the Salesforce mobile app.
- To enhance data privacy, consider changing your password at regular intervals, especially if your administrator enforces periodic password expiration.
- In case you forget your password, there are retrieval options. If you find yourself locked out, wait until the lockout period concludes or contact your Salesforce admin for assistance.
- Accessing Salesforce from an untrusted IP range or using a new browser or app may prompt identity verification.
- For logging in with a company-specific My Domain login URL, click “Use Custom Domain” and input the login URL in the Custom Domain field (e.g., MyDomainName.my.salesforce.com for production).
- To log in to a sandbox, utilize either its My Domain login URL or https://test.salesforce.com. For the My Domain login URL, use MyDomainName–SandboxName.sandbox.my.salesforce.com, where MyDomainName is the org’s My Domain name, and SandboxName is the sandbox name.

